Grow Your Business
Comprehensive Guide for Steps to Prepare Walls for Painting
June 8, 2023
Updated on February 24, 2026
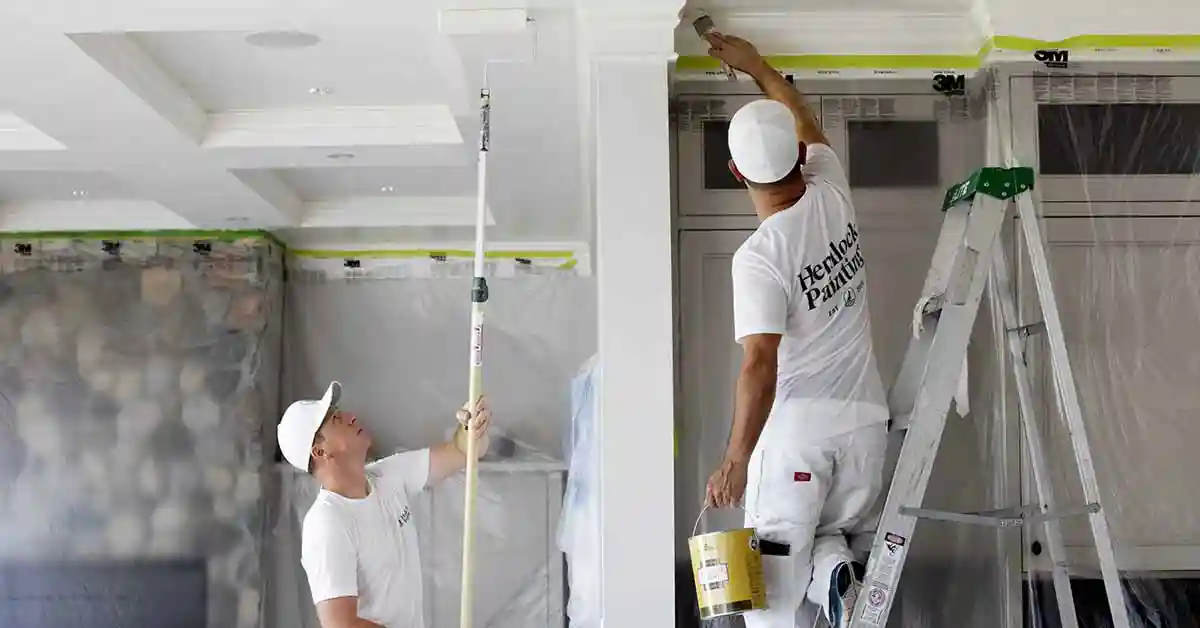
The quality of a professional paint job is only as good as the preparation that goes into it. You see, giving your walls a fresh coat of paint isn't just about dipping the brush and going to town. Oh, no, it involves a lot more finesse, patience, and technique. This guide will uncover the essential steps to prepare walls for painting and ensure a finish that's picture perfect.
Understanding the Importance of Wall Preparation
Why Bother with Wall Preparation?
Some might argue, why all the fuss about wall preparation? Can't we just slap on the paint and be done with it? While that might seem tempting, it's a shortcut that can lead to disastrous results. Without proper preparation, your paint may not adhere properly, leading to an uneven surface, or even worse, peeling or cracking paint.
How Wall Preparation Impacts Paint Quality
The fact of the matter is, a well-prepared wall allows the paint to adhere more effectively, providing a smoother finish. This means less time worrying about touch-ups and more time admiring your pristine walls. Plus, when you've invested time and money into choosing the perfect color, why not give it the best possible surface to shine on?
Steps to Prepare Walls for Painting
Clearing the Room
The first step? Clear the decks. Remove all furniture, decorations, and wall fixtures to create a clean and clear working environment. This ensures that nothing obstructs your path and eliminates the risk of damaging any items.
Protecting Your Floor and Fixtures
Once you've cleared the room, lay down a drop cloth to protect your flooring from any paint splatters or dust. And don't forget about your fixtures. Cover them with plastic wrap or painter's tape to keep them safe from stray brush strokes.
Cleaning the Walls
Now, onto the walls. A common mistake people make is not cleaning their walls before painting. Over time, dust and grime can build up, causing paint to adhere poorly. A quick wipe down with a damp cloth can do the trick. For stubborn stains, a mild detergent could be your saving grace.
Repairing Wall Damage
Ever heard the phrase "painting over the problem"? It's not just an idiom, it's a common issue. Rather than ignoring wall damage, address it head-on. Fill in any holes or cracks with spackle, and sand it down once dry. This will result in a perfectly smooth surface ready for painting.
Sanding the Walls
Sanding isn't just for repairs. Giving your whole wall a light sanding can promote better paint adhesion. It creates a slightly rough surface, which helps the paint stick more effectively. But remember, this isn't a carpentry project - a light hand is all you need.
Priming the Walls
Primer isn't just a buzzword, it's an essential part of the wall preparation process. This magical potion creates a barrier that helps the paint stick better and provides a neutral base for your chosen color. Primer also helps to prevent stains and knots in the wood from showing through your paint.
Try our Painting Contractor Software to help manage your business
The Final Stages in Preparing Walls for Painting
Taping Off Edges
This step is all about precision. Use painter's tape to create a boundary for your paint. This helps to create sharp, clean edges and prevents paint from getting onto your trim or ceiling.
Final Clean Up
Last but certainly not least, ensure that all dust and debris from your preparation process are cleared away. Any lingering particles can disrupt your smooth finish, so it's best to start with a clean slate.
FAQs
-
Can I paint over wallpaper?
It's not recommended. The best course of action is to remove the wallpaper and then proceed with the steps to prepare walls for painting. Painting over wallpaper can lead to uneven textures and potential peeling. -
How often should I clean my walls before painting?
A single thorough cleaning before painting should suffice. However, if there's considerable dust or grime, you might want to clean more frequently. -
What type of primer should I use?
The type of primer you use depends on the paint you're using and the wall's material. Consult with your paint supplier to find the best fit. -
Do I need to sand between coats of paint?
It's not essential, but it can help to create an ultra-smooth finish. -
Can I use a roller to apply the primer?
Absolutely. A roller can make the primer application process quicker and more efficient. -
How long should I wait between the primer and the first coat of paint?
It's best to wait until the primer is fully dry. This could take anywhere from 1 to 3 hours.
Just starting? Try our Free Painting Estimate Template
Conclusion
Preparing your walls for painting isn't just a step in the process, it's the foundation of your entire project. Without it, you risk a subpar finish that doesn't do your chosen color justice. So, the next time you're ready to paint, remember, it's all in the preparation.